Connecting Android smartphones to a university email account
Connecting Android smartphones to a university email account
Below is a step-by-step guide to setting up a university email account on an Android smartphone.
Please note: Students of the University of Oldenburg can only to set up this function after having agreed to use the calendar. For more information, please see Aktivierung der Synchronisation von Stud.IP in den Groupware-Kalender von Exchange (Activating Stud.IP synchronisation with the Exchange Calendar).
Introduction
In the following steps, we will use an example to show you how to set up your email account on an Android device.
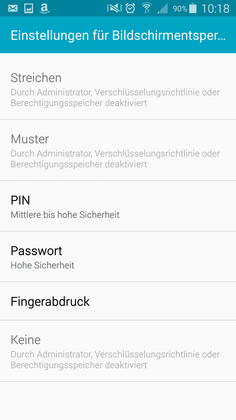
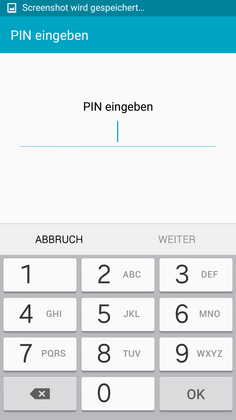
Please note: Depending on the Android version and the manufacturer of your device, the steps may differ slightly and you will need to protect your phone with a PIN in order to set up your Exchange account.To use this service, you must also agree to the possibility of remote access during setup and, if necessary, to the deletion of all data on the device (for example, in the event of a lost device) in accordance with the guidelines for mobile devices.
Your device will not be accessed without good cause!
1. Configuration
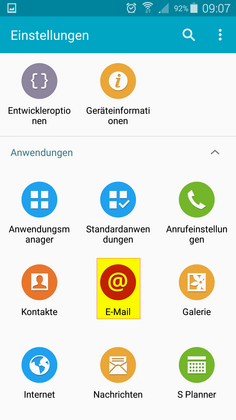
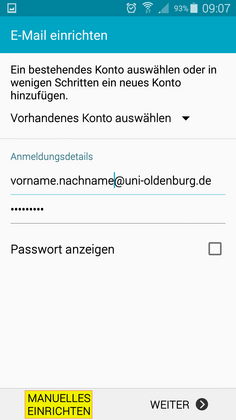
Go to Settings, open the E-Mail app and add a new account. After entering your login details (your email address and password), select 'manual setup' followed by Microsoft Exchange ActiveSync:
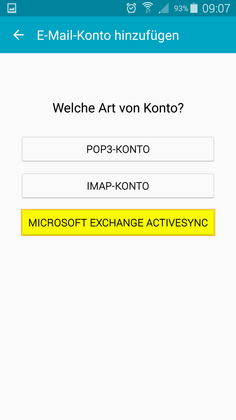
2.Enter your email address, user account and password
In the following screen, enter your email address, user account (i.e.w2kroot\abcd1234) and corresponding password as well as the address of the Exchange Server (mail.uni-oldenburg.de):
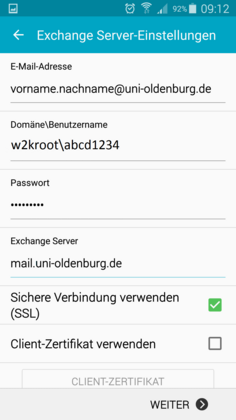
3.Additional security settings
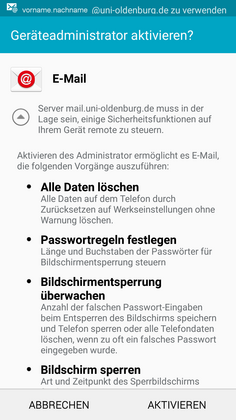
The smartphone should now be connected to the email server and start transferring data.For some versions of Android, you will need to accept some additional security settings:
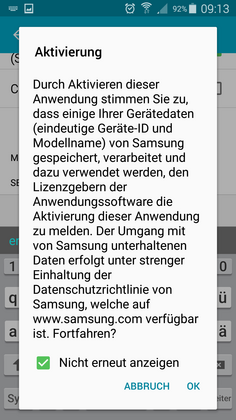
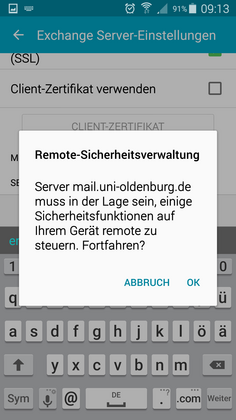
4.Select account options
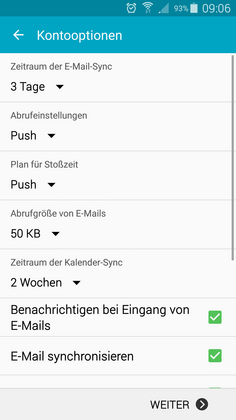
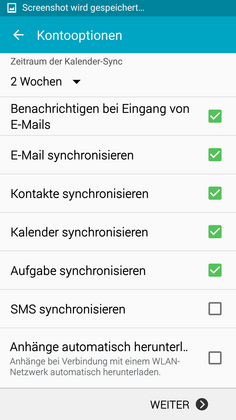
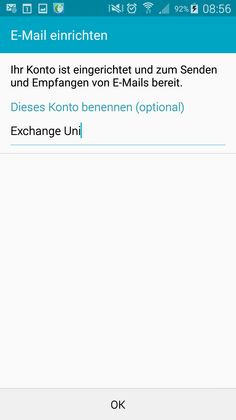
In the Kontooptionen (account options), accept the default settings and press Next:
