VPN client for Windows

Downloading, installing and configuring the GlobalProject VPN client for Windows

A quick guide to GlobalProtect is available from IT Services. Alternatively, you can download a copy here.


Quick guide to the VPN client GlobalProtect (Windows)

Downloading the VPN client

Using your personal login details, download GlobalProtect for Windows from the GlobalProtect portal.


Log in to the GlobalProtect Portal using your user account and password.


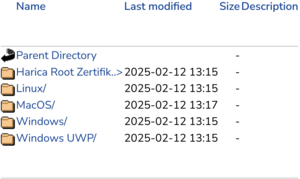
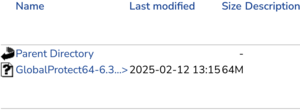
Depending on your operating system, select the corresponding GlobalProtect client for Windows.

If you are not sure whether you are using a 32-bit or 64-bit version of Windows, you can check this in Windows via Control Panel -> System and Security -> System.

You can also access this window by pressing the Windows key and the Pause key at the same time. ( + )

Here you will be able to see what type of operating system your computer/laptop is using (Under ‘System’ -> ‘System type’).

Installing the VPN client

Once downloaded, start installing the client by clicking on the downloaded file.

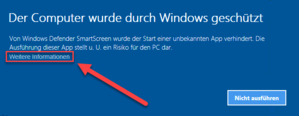
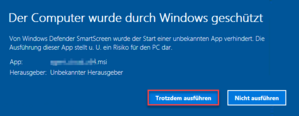
Depending on your version of Windows, a warning message may appear when the installation starts, indicating that Windows is protecting your computer.

If you have Windows 7, click on Run:


If you have Windows 10, click on More information and then in the next window click on ‘Run anyway’
                                   

Once the installation process has started, the following window will appear:

Click on Next.

In the following window, select the folder in which the GlobalProtect Client should be installed.

Once you have selected the right folder, click on Next.

Confirm the installation and then click ‘Next’ to start the installation.

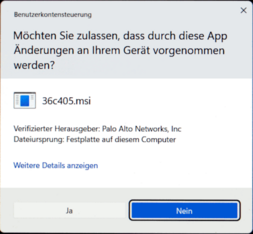
Depending on the computer’s configuration, you will need to confirm the User Account Control message (shown here) by clicking ‘Yes’. If you are prompted to enter a user name and password, please contact your IT administrator, as you do not have the necessary administrative authorisation.


On this screen you can follow the installation progress.


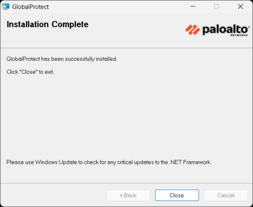
Once successfully installed, you will be asked to exit the program.


To do this, click on Close.

Configuring the VPN client

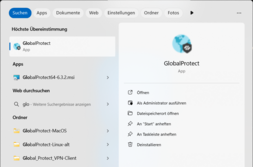
The GlobalProtect VPN client usually starts automatically after installation. If this is not the case or if you want to start the VPN client at a later time, you can do so via the Windows Start menu


or via the Windows system tray.

Enter v.uol.de as the portal address and click Connect:


The portal address is stored in the VPN client and does not need to be entered again.

If a connection via v.uol.de is not possible for you, please try v-uol.uol.de as an alternative portal address. This address will connect you to the same VPN gateway by using a different addressing scheme.

Enter your user account details and click on Sign in:


Your user account details are stored in the VPN client and do not need to be entered again.

A message will appear confirming that login was successful.


You are now securely connected to the University of Oldenburg’s campus network.


Service Desk (Changed: 16 Sep 2024)  | 
Zum Seitananfang scrollen Scroll to the top of the page