VPN client for Windows
VPN client for Windows
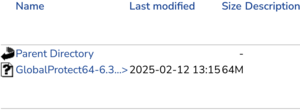
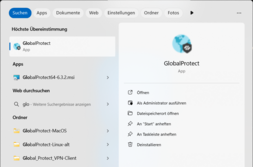
Download VPN-client
Register on Software-portal with your user account and password. There you will find them in the subdirectory GlobalProtect.

Install VPN-client
After a successful download, start the installation by executing the downloaded file.
Depending on your Windows version, a warning may be displayed at the start of the installation, indicating that Windows is protecting your computer.
For Windows 10, please click on „Weitere Information“ and then on „Trotzdem ausführen“ in the following window:


In the following window, confirm the desired folder in which the Global Protect Client is to be installed.
Once you have selected the installation folder, click on Next.


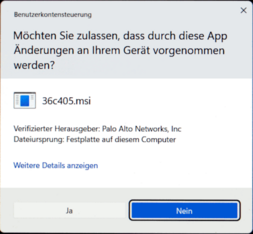
Depending on the PC-Configuration, you must confirm the user account control message on the right with Yes.
For private devices: If you are prompted to enter a username and password, this is the login data for your device.
For business devices: If you are prompted to enter a username and password, please contact your IT administrator, as you do not have the necessary administrative authorisation in this case.

Configure VPN-client
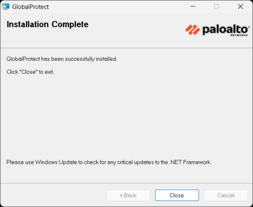
The Global Protect VPN client usually starts after installation. If this is not the case or if you want to start the VPN client at a later time, you can start the VPN client via the Windows Start menu
or directly in the Windows notification panel (system tray).

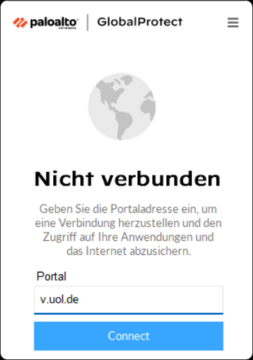
After installation, you will be welcomed the first time you open Global Protect.
Click on : Loslegen

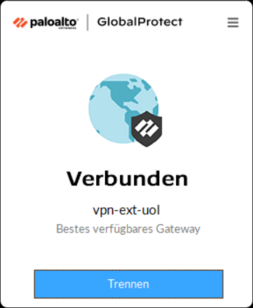
Enter v.uol.de as the portal address and click Connect.
The portal address is saved in the VPN client and does not need to be entered again.
You can change the portal details in the ‘Burger menu’ (the three horizontal bars at the top right) under Settings → Connections and then add via the +.
During the initial connection, a browser window opens for the login, while Global Protect waits.
The login process is described here: Two-factor-login process