Ricoh MFPs - Windows PC: Notes on using a PRINTKARTE with query
Ricoh MFPs - Windows PC: Notes on using a PRINTKARTE with query
Ricoh MFGs - Windows PC: Instructions for using a PRINT CARD with query (of the CampusCard ID)
You have a print card for the use of Ricoh multifunction devices. The print card has a different financial and cost centre than the service card in order to allocate costs to specific items. You may have several print cards. Please use the service card for scanning documents. The result is stored on your L-drive (default setting: storage in the subdirectory 'scans'). There are no costs for this service, so no differentiation between FST and KST is necessary.
Notes on printing with the use of a print card
If you want to print at the expense of the finance and cost centre stored in a print card, send the print job already with reference to the print card - not only when printing at the multi-function device. As a user of Windows PCs, there are two ways to use the print card:
Follow the procedure in "NEW MFPs - Setting up Windows PC to print on Ricoh MFP" to add another printer named 'FollowMe_PrintCard_Query'. To do this, you can use the clipboard to copy \ricohmfg01.w2kroot.uni-oldenburg.de\FollowMe_Printkarte_Abfrage (or\ricohmfg01\FollowMe_PrintCard_Query.) into the input field in the Windows start menu. Each time you use this now selectable printer, you will be asked to enter the number of your print card. The number is shown on the front of the print card at the bottom right. This allows you to use a different print card for each print job for creation and subsequent printing at the multifunction device.
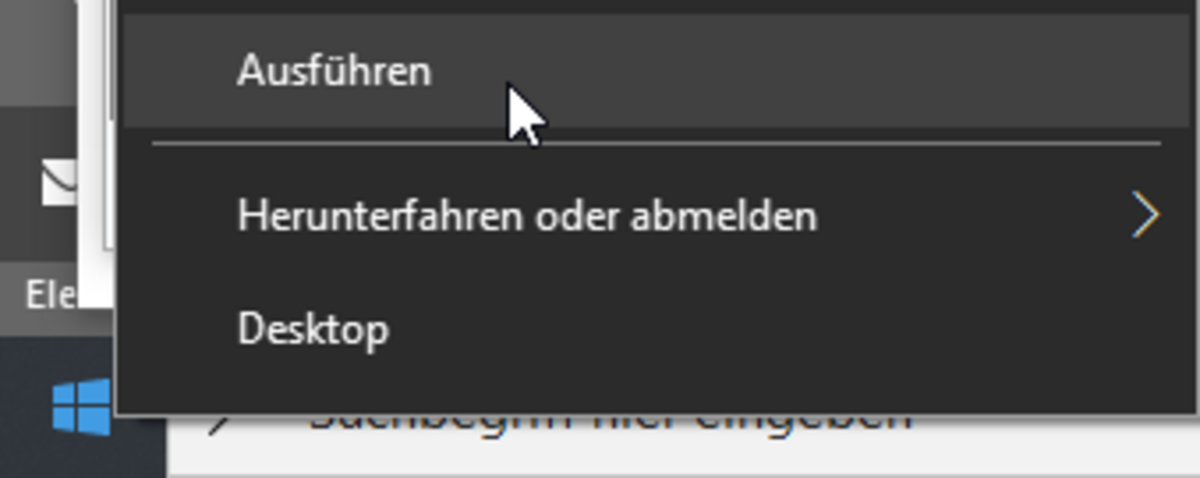
You connect the printer as follows: Right-click on the Windows icon at the bottom left and select "Run".
Paste \ricohmfg01 .w2kroot.uni-oldenburg.de\FollowMe_Printcard_Query into the field next to "Open:" and execute it with "OK". 
If you are not logged into the domain w2kroot, the window "Windows Security" appears. Enter your user account preceded by w2kroot\ and the password. 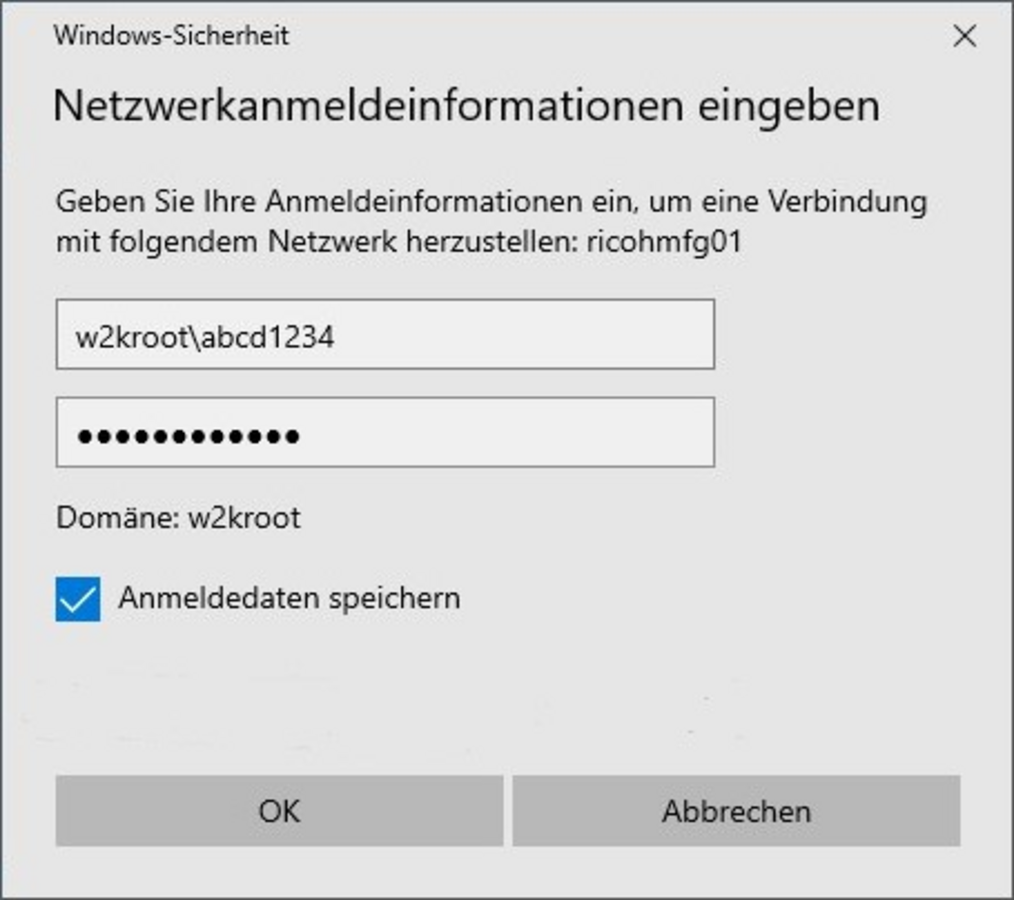 The printer installation appears.

When printing/transferring the print job to the print queue \ricohmfg01\FollowMe_PrintCard_Query the following window appears in which you enter the 8-digit number of the print card in the field "Enter user ID:". 
NOTE for scanning documents using a print card
A user (account) can also be assigned to a print card when it is applied for. With the user account stored, the print card can be used for copying and printing and for scanning documents. 1.